Guided by
Steve Andrews
Zone
Blackcomb backcountry, Whistler BC
Season
Winter · ski & splitboard
Belt range
Blue → Red
Forecast region
Avalanche Canada: Sea-to-Sky
In this guide
- At a glance
- What you need first
- Busy isn’t safe
- Getting through the gate
- Routes by belt
- Hazards & conditions
- What to pack
- Maps
- FAQ
- Final thoughts
No paid placements. Routes, resources and gear links are on this page on merit only. Some gear links may earn Alpine Islands a commission.
The Blackcomb backcountry is one of the easiest places to access high-alpine descents, but with that comes massive traffic and popularity.
It can get people lulled into complacency because there is so much traffic, but it is still backcountry, and you can get massive avalanches on long slopes. Weather can be brutal here, so you need to be prepared to navigate in a whiteout and to be prepared for emergencies. Going down into the wrong drainage can mean being stranded in the wilderness, which seems to happen every year. So give the backcountry here the respect it deserves.
I’ve been touring back here for over 25 years… basically ever since it started getting too crowded in-bounds to need to seek powder elsewhere. While the inbounds experience on Blackcomb is still next-level compared to other resorts, it sure can get busy these days. And yes, backcountry skiing and splitboarding has exploded in popularity but it’s still one of the best places on earth for a day tour with minimal effort to get to eleveation.
This is the winter, ski-and-splitboard version of this zone. In summer the same peaks are a different game entirely. That page is coming but here’s the lowdown for winter.
Blackcomb backcountry at a glance
- Access point: Blackcomb Glacier backcountry gate, near the top of the Showcase chairlift. Alternatively, you can skin up Disease Ridge from the base of the 7th Heaven Gondola, and even skin up from the village if you’re really keen.
- Staging: On the far side of Blackcomb Glacier, right past the rocky bit at the beacon checkpoint. On any day where it’s decent, you’ll see the parade of people traversing across the glacier.
- Typical day: a lift-assisted half day (Body Bag Bowl) to a long, committing full day (Decker), to a multi day classic (The Spearhead Traverse)
- Belt range: Blue and up. No White-belt lines outside the gate.
- Avalanche terrain: the Spearhead area is ATES-mapped on Avalanche Canada’s Trip Planner. Check the rating for each line before you go to make sure you are within your abilities.
- Governing conditions: the Sea-to-Sky avalanche forecast, visibility at the gate, and whether the T-bar is even running.
- Ways home: the Blackcomb Glacier ski-out or the 7th Heaven side, depending which way you turn at the col.
- Map: Here is a CalTopo map with slope angles to give you a better idea.
What do you need before the Blackcomb backcountry?
At the minimum: AST 1, a partner with the same (or better) training, full avalanche rescue gear you’ve practised with this season, and the ability to navigate off a glacier with no visibility. Everything below sizes that up honestly.
- Skills: fast companion rescue (the Blue-belt Beacon Mastery standard is the one to work toward); terrain selection by aspect and elevation; spotting wind loading and overhead hazard; low-visibility navigation with map, compass and GPS; efficient transitions; controlled skiing in steep, variable snow. Glacier travel and crevasse rescue for the Decker side.
- Fitness / commitment: ranges from a short skin and one lap to a multi-hour day well away from the lifts. Commitment climbs sharply once you’re over the Spearhead col, and you’re totally commited to skin back out if you make it to Decker Lake.
- Certifications: AST 1 is the floor. Corona Bowl, DOA and Decker ask for AST 2-level judgment. Crevasse rescue training for glaciated routes. First aid. We run AST courses all winter if you’d like to get some firsthand training in the Dojo.
- Prior experience: Blue belt for the easiest line here. White belt? Start with the section below, not with a couloir.
Is the Blackcomb backcountry safer because it’s busy?
No. It can get people lulled into complacency because there is so much traffic, but it is still backcountry. Always watch for overhead hazard here because there is the potential for large, destructive avalanches that have taken people’s lives before.
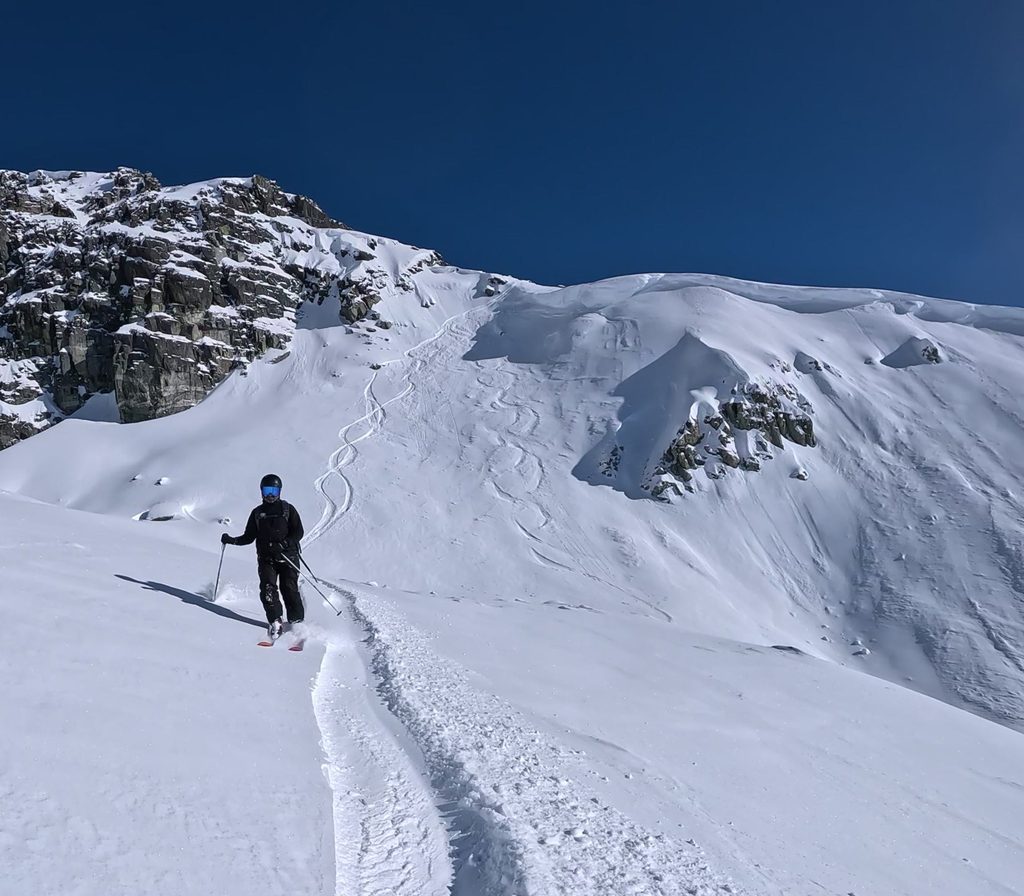
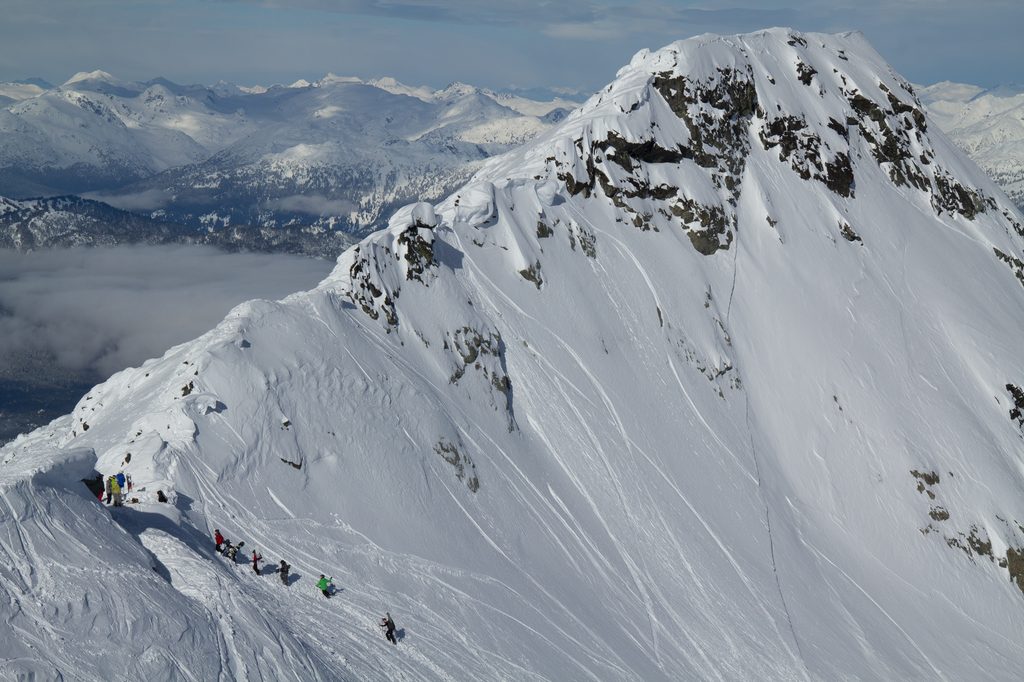
A skin track full of people tells you nothing about the snowpack, and other parties are part of your overhead hazard. Two of the Corona Bowl incidents on record were slides triggered from above onto people below: in 2013 a rider traversing the top of the pitch caught a group preparing to climb toward Husume, and in 2017 a father and his four-year-old son were caught by a slide a returning group set off above them. In February 2021, a size 3 in the Poop Chutes off the Blackcomb Glacier killed one skier and injured another, the same afternoon a separate slide off the Spearhead Glacier seriously injured someone else.
How do you get into the Blackcomb backcountry?
Most people ride the lifts and leave through the Blackcomb Glacier backcountry gate near the top of the Showcase lift. That means a valid pass or ticket, or Whistler Blackcomb’s backcountry ticket, which comes with a gear check and a signed Backcountry Access Agreement. If patrol doesn’t open access on a given day, that door is shut.
Skinning up through the resort is only allowed on designated uphill routes, some with time windows, and they open and close with conditions Going uphill anywhere else can cost you your lift privileges for a calendar year. Be sure to check on the terrain status through the website or at guest services at the base to be sure.
Blackcomb Peak is not a free-for-all. Blackcomb Peak has very few skiable lines. The only real doable side is DOA; the other side has far too much avalanche danger for it to be open to the public. If you must, wait until after hours or risk getting your pass pulled and getting in trouble.
Know your last lift. Every line on this page ends back at a lift or a long ski-out. Note the closing times for the lifts your exit depends on before you leave the gate. Winch cats can operate after hours too, so be careful heading back into the resort. In winter, darkness can creep up fast.
Once you pass the gate on the far side of Blackcomb Glacier, you’re in uncontrolled terrain. Many roads will lead out to valleys with no civilization. Europeans can be confused that it leads to wilderness. It’s not like back home. It’s wild country as soon as you crest the col.
Blackcomb backcountry routes by belt
There are so many options that it’s hard to put them all here, but I’ll outline a few. There are also many options to get you back into the resort, so make sure you know where you’re going.
They’re ordered easiest to hardest. Find the one that fits you today, and look at the rung above and below it.
New to touring? Start here — White belt
Nothing beyond the gate is White-belt terrain. Every line below crosses avalanche terrain patrol doesn’t control. That doesn’t mean Blackcomb is off-limits forever. It means your first steps here happen before the gate.
The Showcase zone is a good introduction to the type of terrain you’ll face. Do a lap here in-bounds to see if it’s what you can handle. At least the terrain is controlled for avalanches. If the Showcase lift is closed, it’s a perfect spot to practice skinning up and transitioning. A few laps on Blackcomb Glacier will tell you if your skills are up to the challenge.
- Take AST 1, then practise beacon searches until they’re automatic. There is a beacon park above the patrol hut near the top of Catskinner chair.
- Ski the inbounds Blackcomb Glacier on a clear day and learn the ski-out you’ll be relying on later. On the other side, traverse from Seventh Heaven over to Xigghy’s Meadow and Lakeside Bowl to see the exit from Disease Ridge and BodyBag.
- Make your first trip through the gate with a good mentor and someone who knows the terrain.
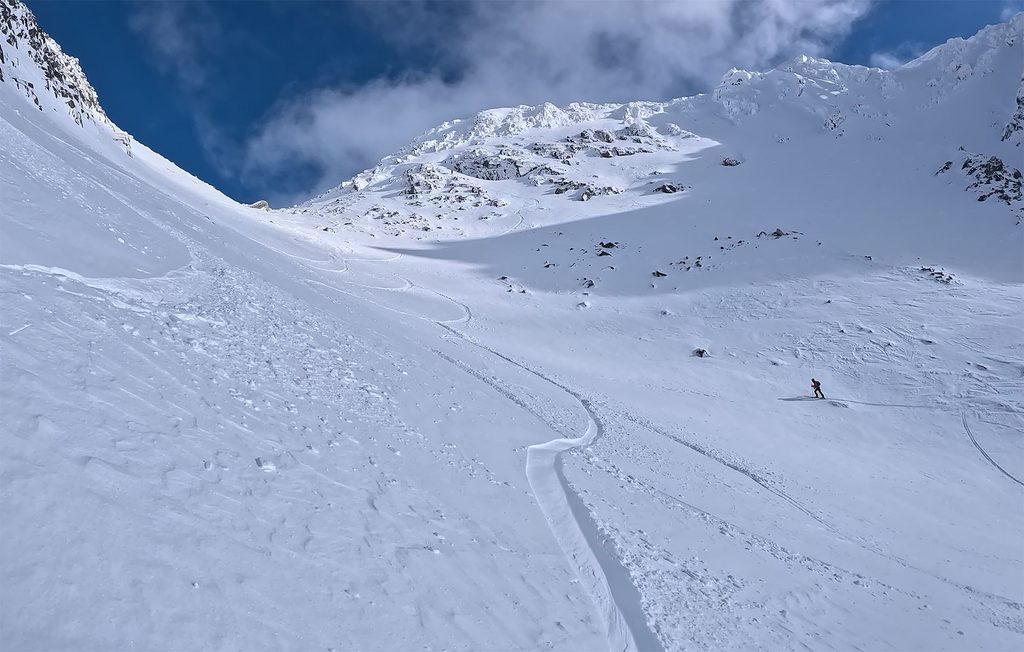
Body Bag Bowl — Blue belt
Don’t let the name fool you: it’s actually one of the safest exits back to the resort, as long as you don’t stay too close to the overhead hazard on skier’s left on Disease Ridge.
| Bottom line | The bail-out line, and the right first line outside the gate. |
|---|---|
| Access | East Col, or Skin up from 7th heaven |
| Aspect / vert | SW / 400m |
| Crux | Holding your line away from Disease Ridge on skier’s left. |
| Objective hazard | Overhead hazard off Disease Ridge. |
| Exit | Back toward the 7th Heaven area [***] |
| ATES | Challenging (Overhead Hazard on Disease Ridge) |
Too much? Spend more time on the White-belt steps above. Dialled it? Step up to Husume. You’ll want solid low-visibility navigation first.
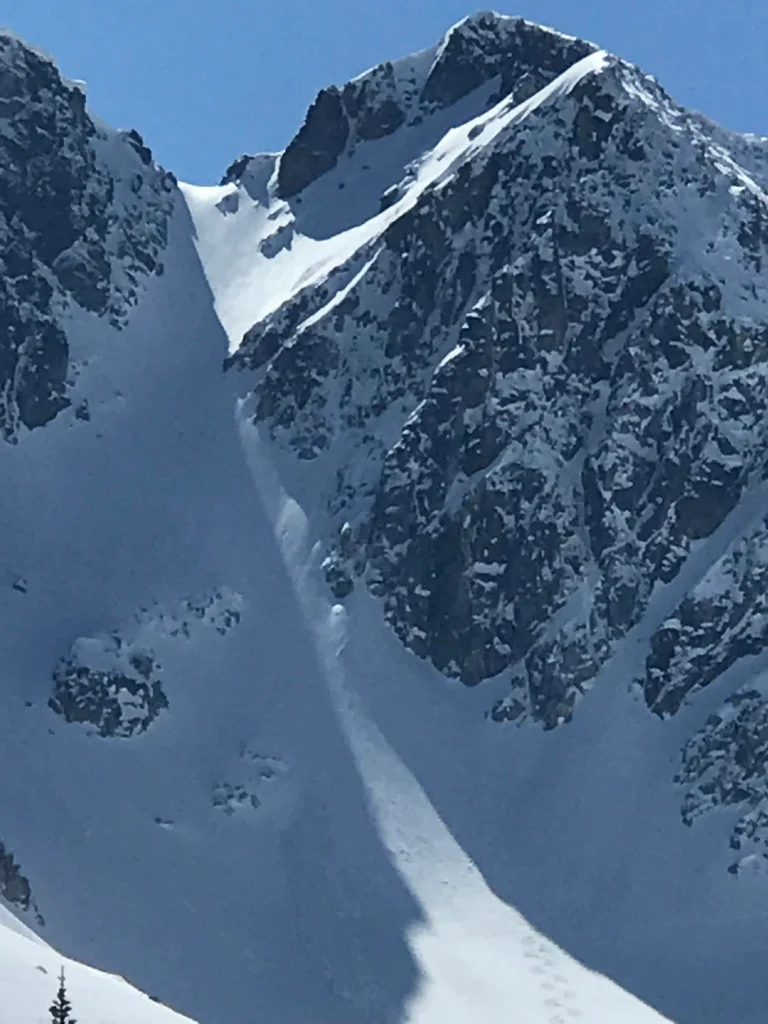
Husume — Green belt
Husume takes you up behind Spearhead and on the Stairmaster into a wide couloir, getting you back to the resort.
| Bottom line | A real couloir with a clean way home. |
|---|---|
| Aspect / steepness | Northwest-facing, up to around 40° [***] |
| Vert in the couloir | Roughly 250–390 m, depending on source [***] |
| Crux | The bootpack to the entrance [***] |
| Objective hazard | Cliffs near the bottom of the run, so you want visibility [***]; parties above you on the approach. |
| Exit | Blackcomb Glacier Road, then down to the lifts [***] |
| ATES | [***] |
Too much? Body Bag Bowl. Dialled it? Corona Bowl is longer and bigger. You’ll want AST 2-level snowpack judgment first.
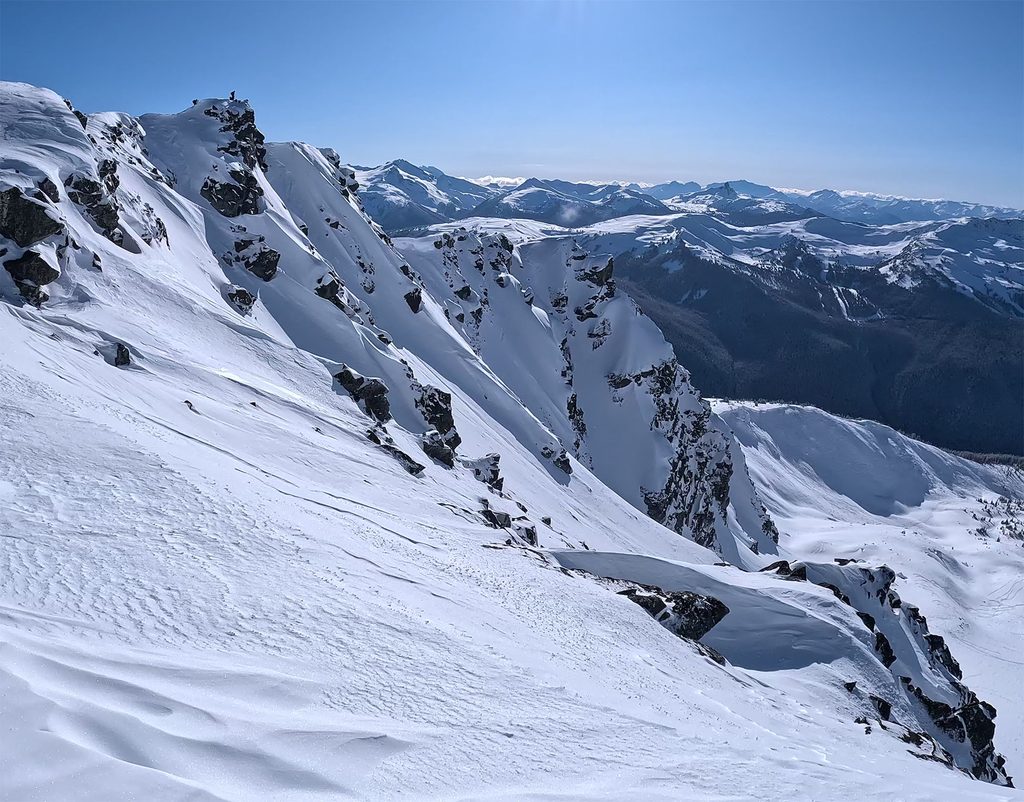
Disease Ridge — Yellow belt
Steep and amazing when it’s good, but scary when hard-packed or slabby. Only attempt it if you have tested the snow elsewhere, as it can be dangerously deceiving, especially when wind-loaded or with fresh storm snow. If you have to hesitate, it’s best to traverse around to Body Bag.
| Bottom line | Only on a day the snow has already proved itself. |
|---|---|
| Access | East Col |
| Aspect / vert | NNE/ 200 feet |
| Crux | Top of the bootpack |
| Objective hazard | Wind slab and storm slab; lower Disease Ridge has had avalanches on weak layers |
| Exit | Lakeside Bowl |
| ATES | Challenging |
Too much? Traverse around to Body Bag Bowl. Dialled it? DOA asks the same snowpack questions on steeper, more exposed terrain.
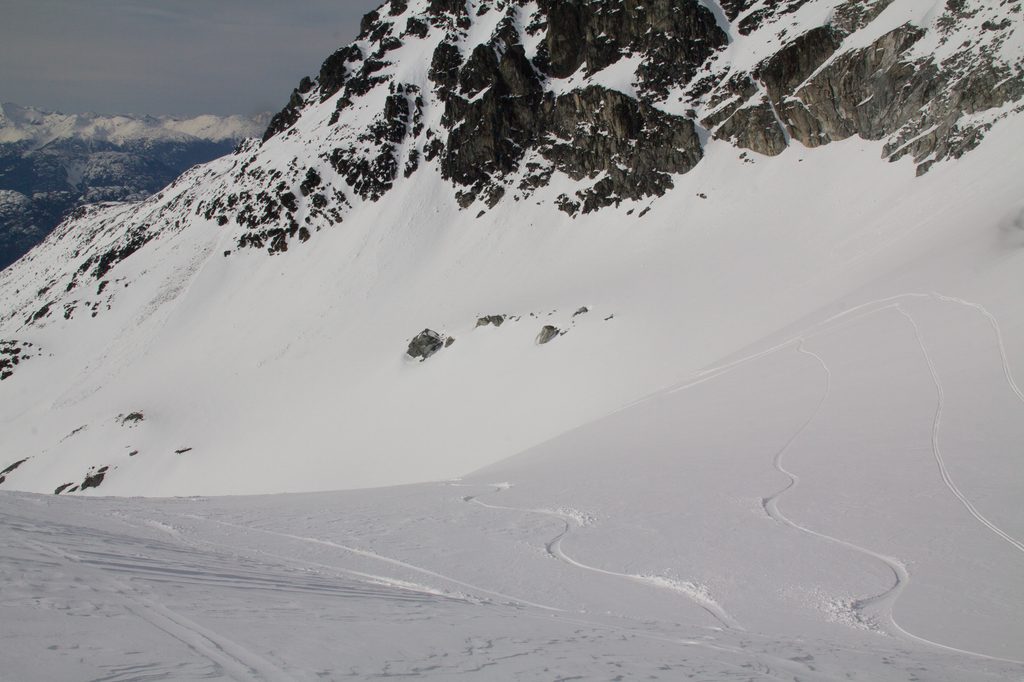
Corona Bowl — Orange belt
A bit further than Husume, but a much longer descent. It also carries much higher avalanche danger, with massive potential for big size 3+ avalanches.
| Bottom line | The long descent, and the biggest avalanche path on the easy side of the zone. |
|---|---|
| Aspect / vert | W, 420m |
| Crux | The steep drop off the Spearhead shoulder onto the glacier |
| Objective hazard | Size 3+ potential; other parties triggering slides from above. |
| Exit | Blackcomb Glacier Road |
| ATES | Complex |
Too much? Husume. Want more? Continue around Phalanx to the Poop Chutes.
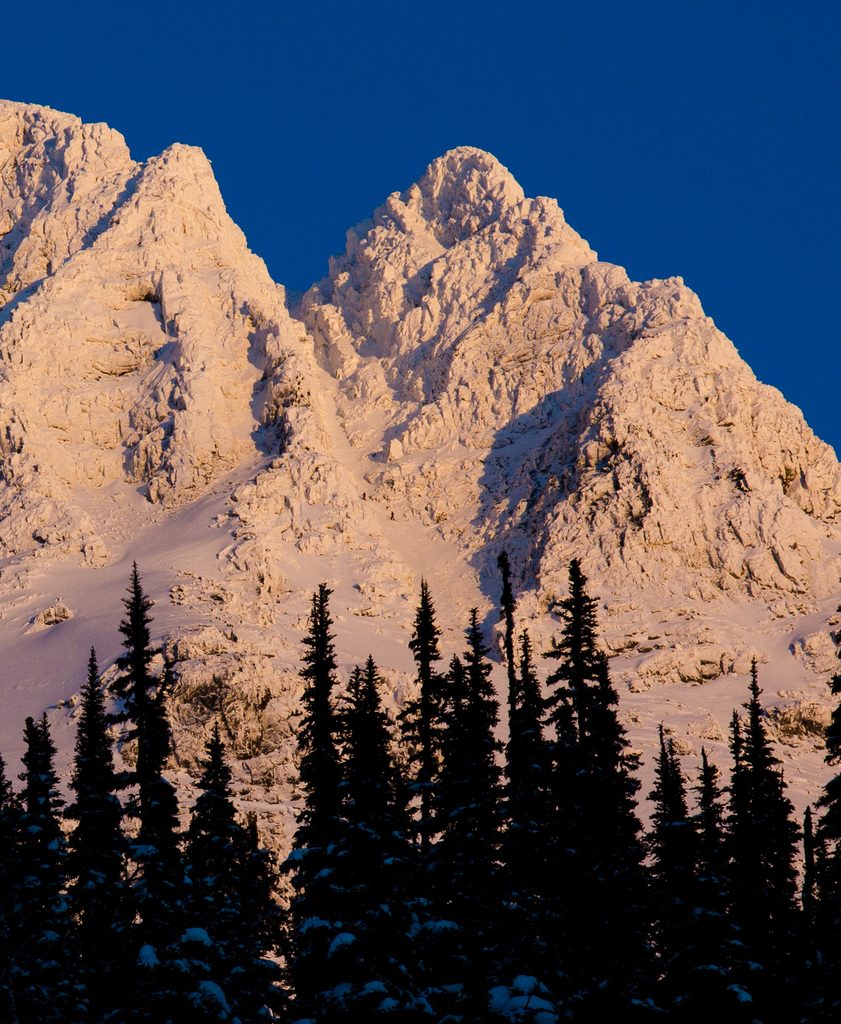
DOA — Orange belt
DOA is the classic couloir, and the only real doable side of Blackcomb Peak. If it’s too hairy, you can take Body Bag Bowl.
| Bottom line | The test piece you can see from the lift. |
|---|---|
| Access | From the gate toward the East Col, then traverse to the entry notch |
| Aspect / steepness | South-facing; steepest pitches in the mid-40s° |
| Crux | The narrow entrance a tthe top |
| Objective hazard | Sun changes the snow fast on this aspect; parties above you in a confined line. |
| Exit | Into the open bowl, then trend skier’s right back toward the boundary and 7th Heaven |
| ATES | Challenging |
Too much? Body Bag Bowl. Dialled it? Decker is the step from “close to the lifts” to genuinely committing.
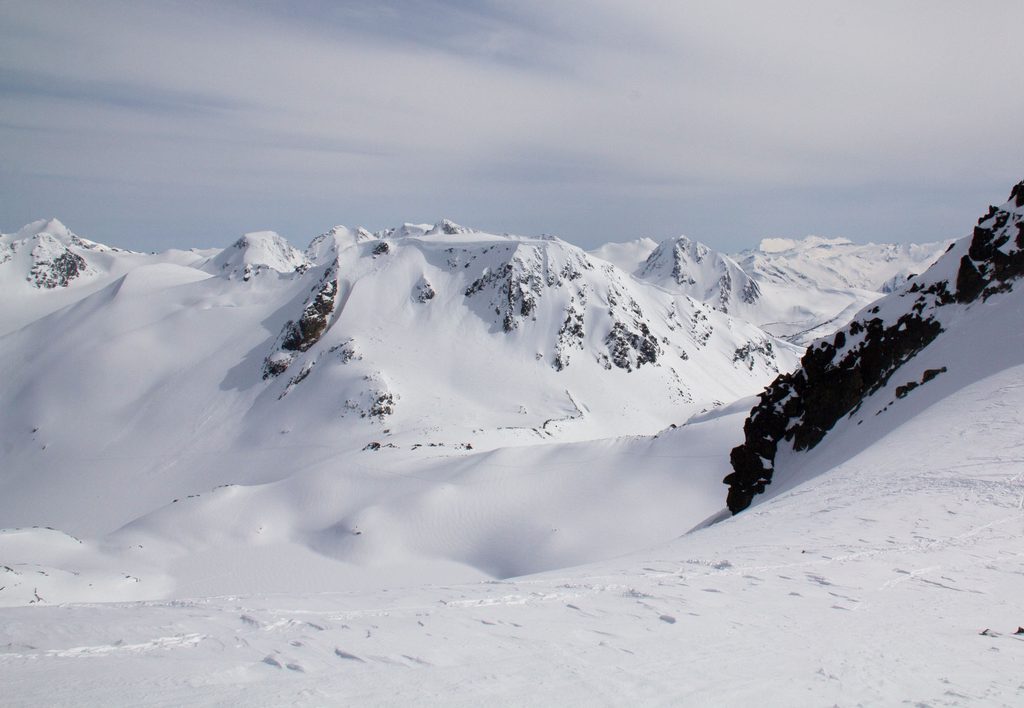
Decker via the Cham Chutes — Red belt
Decker via the Cham Chutes, or just the descent off the backside of the Spearhead col. This is a multi-hour journey but well worth it to get the north-facing goodness on Decker.
| Bottom line | The long way, with the best snow on the page. |
|---|---|
| Access | Over the col and into the Cham Chutes |
| Aspect | North-facing on Decker |
| Time | Full Day |
| Crux | Cham Chutes |
| Objective hazard | Glacier travel and crevasses; overlapping avalanche paths; distance from help. |
| Exit | Disease Ridge |
| ATES | Complex |
Too much? DOA or Corona keep you close to the lifts. Dialled it? The Spearhead Traverse is next. You’ll want multi-day route-finding and crevasse rescue first.
Hazards & conditions in the Blackcomb backcountry
Long slopes, big avalanches
The slopes off the Blackcomb and Spearhead glaciers are long and open, so a slide has room to grow. Size 3 events here happen yearly. Choose a line where your group can see each other and where one person is exposed at a time, and keep safe spots out of the runout. Wait a day or so after a storm, and never follow another group just cuz.
Overhead hazard: cornices, windlips and other parties
Cols and ridgelines here grow windlips and cornices, and in April 2022 a bootpacker near the West Col windlip triggered a size 2 on the Blackcomb Glacier. Before you drop, look at what’s above you, including the people. Talk to the other parties. Don’t stack under them. You can be doing everything right and still get taken out by a group that is going cowboy. Pretty much every skin track behind blackcomb has overhead exposure, so make sure you are well spaced.
Whiteouts and the wrong drainage
Cloud rolls in fast and the glaciers go flat with it. Whistler SAR describes the south side below 7th Heaven as a tangle of steep trees and bluffs that drops you into Fitzsimmons Creek just as it gets dark, and in January 2024 two lost tourers had to be hoisted out of that creek, hypothermic, at night. Load your exit route on your phone before you leave the gate, carry a map and compass as backup (or use them as primary to keep the skills sharp), and agree on a whiteout plan at the col: “If we can’t see, we take ___ home.”
If something goes wrong
Past the gate, rescue is your group first and SAR second. Carry a satellite messenger, a charged phone and battery bank, and a way to stay warm overnight. Save the Whistler Blackcomb patrol emergency number in your phone: 604-935-5555. If you’re lost and in contact with rescuers, stay put unless they tell you otherwise.
Check before you go
- Avalanche forecast: Avalanche Canada, Sea-to-Sky region
- Mountain weather: Avalanche Canada mountain weather forecast
- Recent observations: Mountain Information Network and the ACMG Mountain Conditions Report
- Gate, lifts & uphill routes: Whistler Blackcomb backcountry info and the live terrain status map
- Highway 99: DriveBC
This page is a starting point, not a substitute for training or your own assessment on the day. Avalanche terrain needs AST training and practised companion rescue.
What to pack for the Blackcomb backcountry
NEVER go out without proper backcountry gear and knowledge.
Beacon, probe, shovel: Non-negotiable past the gate, and worthless without practice this season.
Navigation: Phone with offline maps and your exit loaded, plus a paper map and compass for when the battery or the cold wins. Even better, use the map and compass primary so that you don’t need to rely on a digital device that will fail.
Communication: Ideally you’ll have a satellite messenger and a charged phone. Bring radios if your group splits up on descent. Rocky Talkie is excellent value for the price.
A night-out kit: If you’re going past where a ski out can take you back, please pack for an unexpected night out. This means an insulated layer, spare gloves, emergency shelter, headlamp, first-aid kit and repair kit.
Glacier kit (Decker and beyond): Harness, rope and crevasse rescue gear, and the training to use them.
Maps for the Blackcomb backcountry
Start with Avalanche Canada’s free Trip Planner. The Spearhead area is ATES-mapped, and you can download the data to your phone so you know what class of terrain you’re standing in. For contours, the Province’s 1:20,000 GeoBC map 092J006 covers the Blackcomb, Spearhead and Decker area.
Blackcomb backcountry FAQ
Do you need AST 1 to ski the Blackcomb backcountry?
Yes. Treat AST 1 as the floor, because every line past the gate is avalanche terrain that patrol doesn’t control. It’s uncontrolled terrain and although many people frequent it, you want to understand what’s going on and make sure you aren’t getting into
Do you need a lift ticket to access the Blackcomb backcountry?
Most people do. You don’t need one per se, but you will save at least 3 hours of skinning if you take the lifts up. The backcountry pass is surprisingly affordable, and well worth it to save the time. They don’t offer it on high hazard days, so make sure you check the avalanche advisory before making any solid plans.
What’s the safest way back to the resort from the Blackcomb backcountry?
Body Bag Bowl is the best way back in if you aren’t deep. Don’t let the name fool you, it’s actually one of the safest exits back to the resort as long as you don’t stay too close to the overhead hazard on skier’s left on Disease Ridge.
Can you ski Blackcomb Peak?
Only really via DOA. Blackcomb Peak has very few skiable lines, and the other side has far too much gnar and avalanche danger for it to be open to the public.
What happens if you ski the wrong drainage off Blackcomb?
If you’re lucky, it’ll just be a cold night and long slog back. Other people need to call an SOS to search and rescue, and the unlucky few have died out there. The classic mistake is dropping south below 7th Heaven into steep trees, bluffs and Fitzsimmons Creek. Other people go off the backside toward decker and head toward Wedge creek. Know your exit before you leave the gate and make sure you know where you are.
Final thoughts
Give the backcountry here the respect it deserves. The term “Slackcounty” is misleading, especially here where avalanches, crevasse danger, and all kinds of other ways to ruin your day exist. But that said, you’ll find some lines back here that rival any good heliskiing day. It’s well worth a visit, if only for the view from the East Col.
Most people visiting Whistler/Blackcomb never get to enjoy the massive backcountry here so if you’re coming for that, consider yourself privileged.
There’s a lifetime of options here, so train up with us and get the practice in to level up. We’ve got fun things happening all winter, and see what makes Alpine Islands different with the martial-arts inspired belt system:

Steve Andrews is a lifelong adventurer since before he could walk. A skier since age 2, snowboarder since 11, he began his guiding career in 2007. He has a passion for teaching people how to fish, and helping them discover their own power in the mountians. He started Alpine Islands to give people a different take on achieving mastery in the wild (hint: you’re never a master of Mother Nature). He lives in Horseshoe Bay, British Columbia with his partner and two kids.